Spice up your Oil Paintings
Are your paintings a little flat? In need of some pizazz?
Have you ever wondered how to enhance your paintings?
Here’s a couple tips for you !
1. Positioning: Use your Foreground, Middle ground & background!
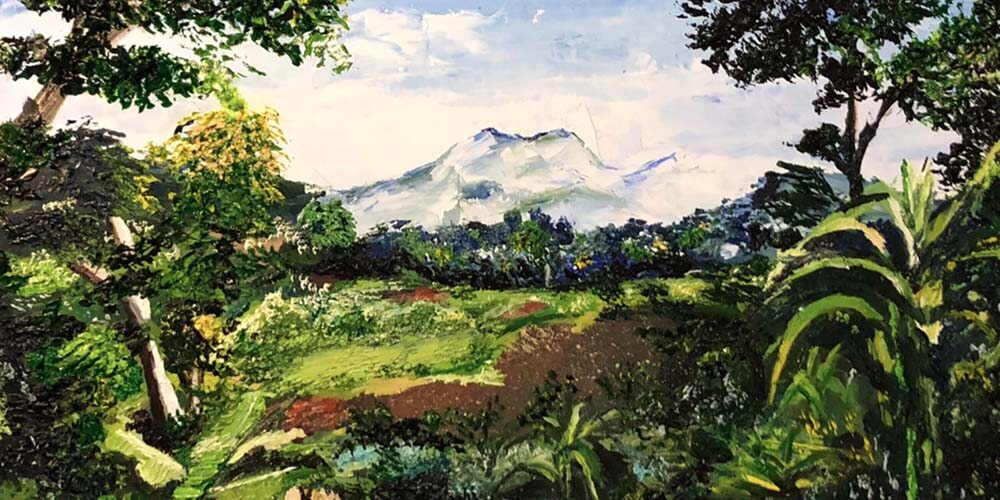
Divide your canvas into thirds from bottom to top. What are foreground, middleground and background? It’s Just as it sounds, the foreground refers to the area closest to you (typically, the bottom region). The middleground follows suit and the background layer is the area closer to the top region of your canvas.
In the painting referenced above:
- The background layer contains the mountains & sky portion
- Middleground is the open space in the middle, the mix of grass and open field. The tall trees are the transition point
- between the middleground and foreground. To get the full tree in the frame, it’s technically in the middleground area.
- The foreground layer features the larger plant stocks
Proportion matters!
Remember, images, people, plants, whatever item you’re depicting is larger at the foreground than the background layer.
What are you aiming to depict? What section do you want your audience drawn to first? Think about these questions as you decide how detail you want your foreground layer to be in comparison to the background.
Even if you do nothing else, dividing your painting into layers will increase the complexity of your painting!
2. Avoid dead-center pieces
If you are painting a portrait painting for example, paint the person situated more towards the left or right side of the canvas. This way, you can fill the other areas of your painting with other items and scenery to give it more depth. If you’re painting two individuals, use the tip from point 1. Place one person in the foreground and the other either in the middleground area, or the background. Don’t forget your proportions! The image in the foreground will be proportionally larger than the other images in the middleground and background layers.
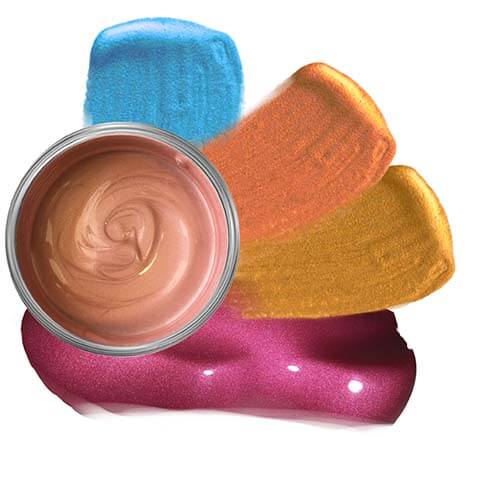
3. Try mixing art mediums
If you only use acrylic paint, try adding an element of oil paint and vice versa. What are some differences between the oil paint and acrylic?
- Based on its composition, acrylic paint dries much faster than oil paint. (i.e. minutes in comparison to several hours, days even to be fully dry)
- Oil is richer in color
- You can keep your acrylic from drying out by spraying your palette with water from a spray bottle
- Acrylic Paint darkens as it dries
- Blending colors is easily achievable through Oil Paint
I am primarily an oil painter. I enjoy using acrylic paint as highlights in my pieces. Specifically, I use metallic acrylic paint for heightened highlights.
Metallic paint is reflective. Depending on how light hits your painting is, your image can “glow!”
4. Build up paint layer – Use painting knife for more texture control
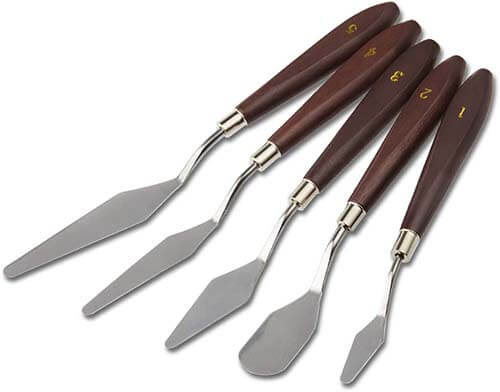
This tip applies directly to oil painting. Due to oil painting’s composition and its drying process, you’re able to pack on paint in different stages while painting. You can use a painting knife to pack a handful of paint straight to your canvas. You can add dried paint to your canvas and “glue it” using fresh paint. Depending on how you maneuver your knife, you’ll be able to build texture. The painting reference above was completed using a painting knife. I angled my knife side-ways as I placed paint on the canvas, creating the leaves-like structure.
Textures can be fun! Go for it!
Create texture layers with oil paint – try these tips!
- Glue dried paint to your canvas
- Add fresh thick paint
- Leave impression in the freshly applied paint
5. Perspective
Think about the angle you want your views to see. Does your painting tell a story? From whose perspective? The painting posted above is more of a direct perspective, as if one walked into a meadow and beheld a spectacular sight. Here are some ways I could’ve changed the perspective: I could’ve painted this piece from an aerial view. This is readily achievable if the piece included some building structure, for example, that could’ve provided a 3-point perspective. I could’ve incorporated the use of shadow effects from the trees to create a solar perspective.
These are just some points to ponder upon, this analysis doesn’t take away from the painting featured above.
Incorporate some or all the tips provided for your next masterpiece!
Want to learn more, check out these articles on Outdoor Painter and Draw Paint Academy.
May your painting visions come to life!
